How to Check a Boot in a Shop Before You Buy It
Quick Answer: Six checks, four minutes. Try boots late in the day, in the socks you will wear, and check heel slip, toe room, the widest part of the foot, the shaft opening, the sole flex point, and whether the sole can be replaced. Most boot regret comes from skipping the last three, which are invisible at the moment of purchase and decisive by November.
Boots are the highest-use footwear in an autumn wardrobe and the most commonly bought badly.
The reason is that the shop test is usually two minutes on a carpet, and a boot’s problems appear at forty minutes on a pavement.
Six checks close most of that gap, and none of them require any expertise.

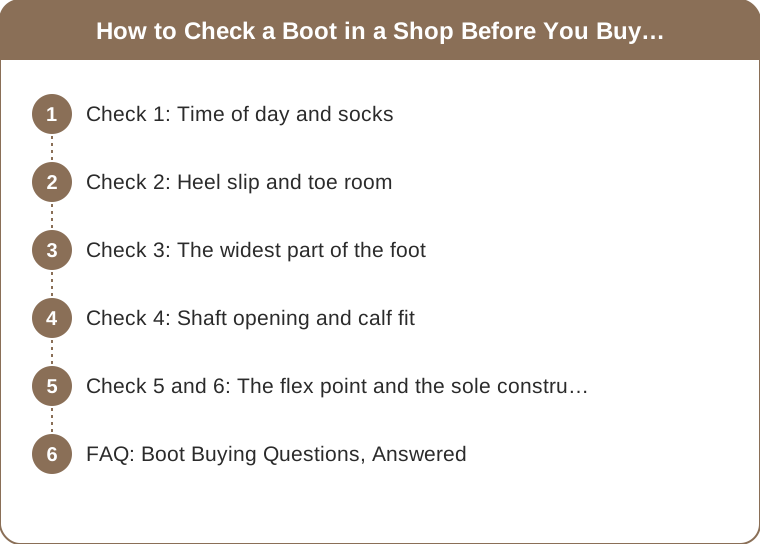
Check 1: Time of day and socks
Not a check on the boot, but the condition that makes every other check valid.
Feet swell through the day, by up to half a size. A boot fitted at ten in the morning can be genuinely tight by four in the afternoon, which is when you will be wearing it.
Try boots in the afternoon or evening. If that is impossible, allow slightly more room than feels correct and expect the fit to tighten.
Socks matter equally. A boot fitted in thin shop socks will not accommodate the wool socks you wear in November. Bring the socks you intend to wear, which sounds fussy and prevents the most common sizing error there is.
Both of these are free and both are skipped almost universally.
Check 2: Heel slip and toe room
These two are the classic fit checks and they pull in opposite directions.
A small amount of heel slip — around 5mm — is normal and expected in a new boot, and it reduces as the sole flexes and the leather softens. More than about 1cm will not resolve and will cause blisters.
Toe room should be roughly a thumb’s width at the end of the longest toe, which is not always the big toe. Stand up to check this, because feet lengthen under weight.
The two conflict in the obvious way: sizing up for toe room adds heel slip. When forced to choose, prioritise toe room — heel slip can be reduced with an insole or a heel grip, whereas a short boot cannot be lengthened.
Check 3: The widest part of the foot
This is the check that predicts long-term comfort and the one almost nobody does.
Find where the boot is widest and check that it aligns with the ball of your foot. If the boot’s widest point sits ahead of or behind yours, the boot will pinch regardless of length, and no amount of wearing in will fix it.
This is a shape mismatch rather than a size mismatch. It is why a size up sometimes feels worse rather than better — the widest point moves further forward, away from where your foot needs it.
Leather stretches across the width by a small amount and does not stretch in length. So a boot that is snug across the ball may ease; a boot that is short will always be short.
If it pinches at the widest point in the shop, put it back.

Check 4: Shaft opening and calf fit
The check specific to boots and the reason many returns happen after the box is opened at home.
For ankle boots, the shaft opening should clear your ankle bone without gaping. A gap creates a draught and looks unresolved; too tight rubs the bone within an hour.
For tall boots, measure your calf at the widest point before shopping, and check the boot’s published calf circumference. This varies enormously between brands and is the single most common reason tall boots do not work.
There is a proportion point too. A shaft that ends at the widest part of your calf is the least flattering height, and it is where many boots happen to end. Just below or clearly above is better, and it is worth checking in a full-length mirror rather than a bench-level one.
Check 5 and 6: The flex point and the sole construction
Check 5: Where does the sole bend?
Hold the boot and bend it. The sole should flex at the ball of the foot — the same place your foot bends. A boot that flexes in the middle of the arch has no shank supporting it, and it will be uncomfortable on any walk longer than fifteen minutes.
This takes three seconds and is the strongest single predictor of whether a boot is comfortable for a full day.
Check 6: Can it be resoled?
Look at where the sole meets the upper. A visible line of stitching means a welted or stitched construction, which can be resoled. A smooth seam with no stitching usually means the sole is glued, and when it wears the boot is finished.
This is the difference between a boot that lasts three seasons and one that lasts ten, and it does not always track price. Check the stitching before you check the label — plenty of mid-priced boots are stitched and plenty of expensive ones are not.
FAQ: Boot Buying Questions, Answered
Will leather boots stretch to fit?
Across the width, slightly. In length, no. Buy for length and expect a small amount of give across the ball of the foot.
Are rubber soles worse than leather?
For autumn walking, no — they grip better on wet pavement and last longer. Leather soles are more elegant and genuinely dangerous on wet stone, which is a real consideration rather than a stylistic one.
How do I stop new boots rubbing at the heel?
Wear them indoors for a few short sessions before a full day out, and use a heel grip if there is slip. Most heel rubbing is slip rather than tightness, and the fix is to reduce movement rather than to stretch the boot.
TL;DR:
- Try boots late in the day, in the socks you will actually wear.
- Prioritise toe room over heel slip — slip can be fixed, length cannot.
- Check that the boot’s widest point aligns with the ball of your foot; a mismatch never resolves.
- Bend the sole to find the flex point, and look for stitching that means it can be resoled.
Four minutes of checking in September saves a season of a boot you do not wear. The flex point and the stitching are the two nobody does and the two that decide how long the boot lasts.
Keep Reading
This article is for general styling and informational purposes only. Trends, sizing, availability and pricing may vary by brand and season.